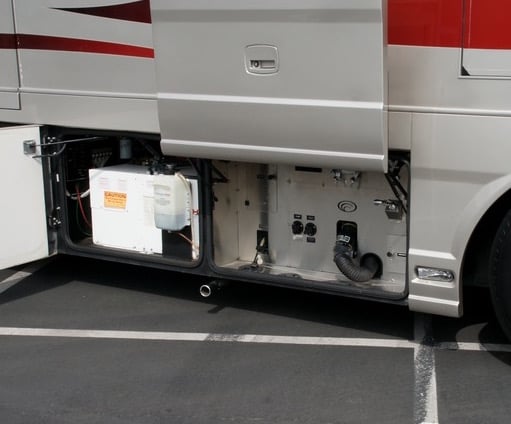
 When old Jack Frost finally decides to take a break and spring gets ready to make its yearly entrance, it’s time for you to de-winterize your hibernating motorhome and get it ready for another season on the road. But what exactly needs to be done to get your RV up-and-running again? Read on to learn more about how to shake the snow and rev your rig for the spring and summer months!
The basics
Before you get started, there are a few precautions you should take to make sure you don’t find yourself in a tricky situation. The most important is to make sure there’s no chance you’ll experience a freeze after you’ve de-winterized. This may mean waiting a couple of extra weeks after the temperatures have started to warm up, just to be sure—the last thing you want is your pipes to freeze and burst after you’ve filled them back up with water!
You should also do a quick check for any signs of wear and tear on the under-side of your coach, like cracks in your tires, loose wires, or leaking fluids. Start charging your battery as well, as it will likely lose some of its power from sitting idle during the winter months, and let it charge up while you begin the rest of the de-winterizing process.
Adios, antifreeze!
One of the main tasks associated with getting your RV out of winter mode is removing any antifreeze from the plumbing system. You’ll need to make sure all traces of the chemical are gone before you fill up your fresh water tank to avoid accidentally ingesting the solution.
Begin by draining the current contents of the tank into a separate container, then add potable water to your fresh water holding tank. Open all of the faucets in your RV and to allow the fresh water to flush out the entire system, being sure to include the outside shower, toilet, ice maker, and washing machine. You’ll know the last bits of antifreeze have been removed when the water runs completely clear, which usually takes about 10 minutes. This is also a great time to check your hoses for any leaks or cracks that may have developed in the off-season.
Once the antifreeze is out, you can replace any water filters you might have removed during the winterizing process. Remember, all of the water containing leftover chemicals is now in your black and grey holding tanks, so they will need to be emptied at a waste disposal site.
Safely sanitize
After you’ve drained and flushed your system, you’ll need to sanitize it to make sure it’s safe for regular use again. Plug all of your drains and add one-quarter of a cup of household bleach per 15 gallons of water in your fresh water tank by first filling the container to capacity, then adding the chemical. Turn on your pump and run the water until you can smell the bleach. Then, turn it off and let the solution sit in the tank and lines for about 12 hours.
Once the system is done sanitizing, you’ll need to drain and flush it with fresh water once more before it’s ready to use. Keep in mind that you may have to rinse it more than once to make sure you get all traces of the bleach out of your fresh water lines.
At this point, your rig should be totally de-winterized and ready for the next adventure, but it’s important to do one more thorough check to make sure everything is in safe running condition. Access your online RV maintenance schedule at www.maintainmyrv.com for a complete checklist that will make sure you leave for your first trip of the summer prepared for anywhere the road may take you.
